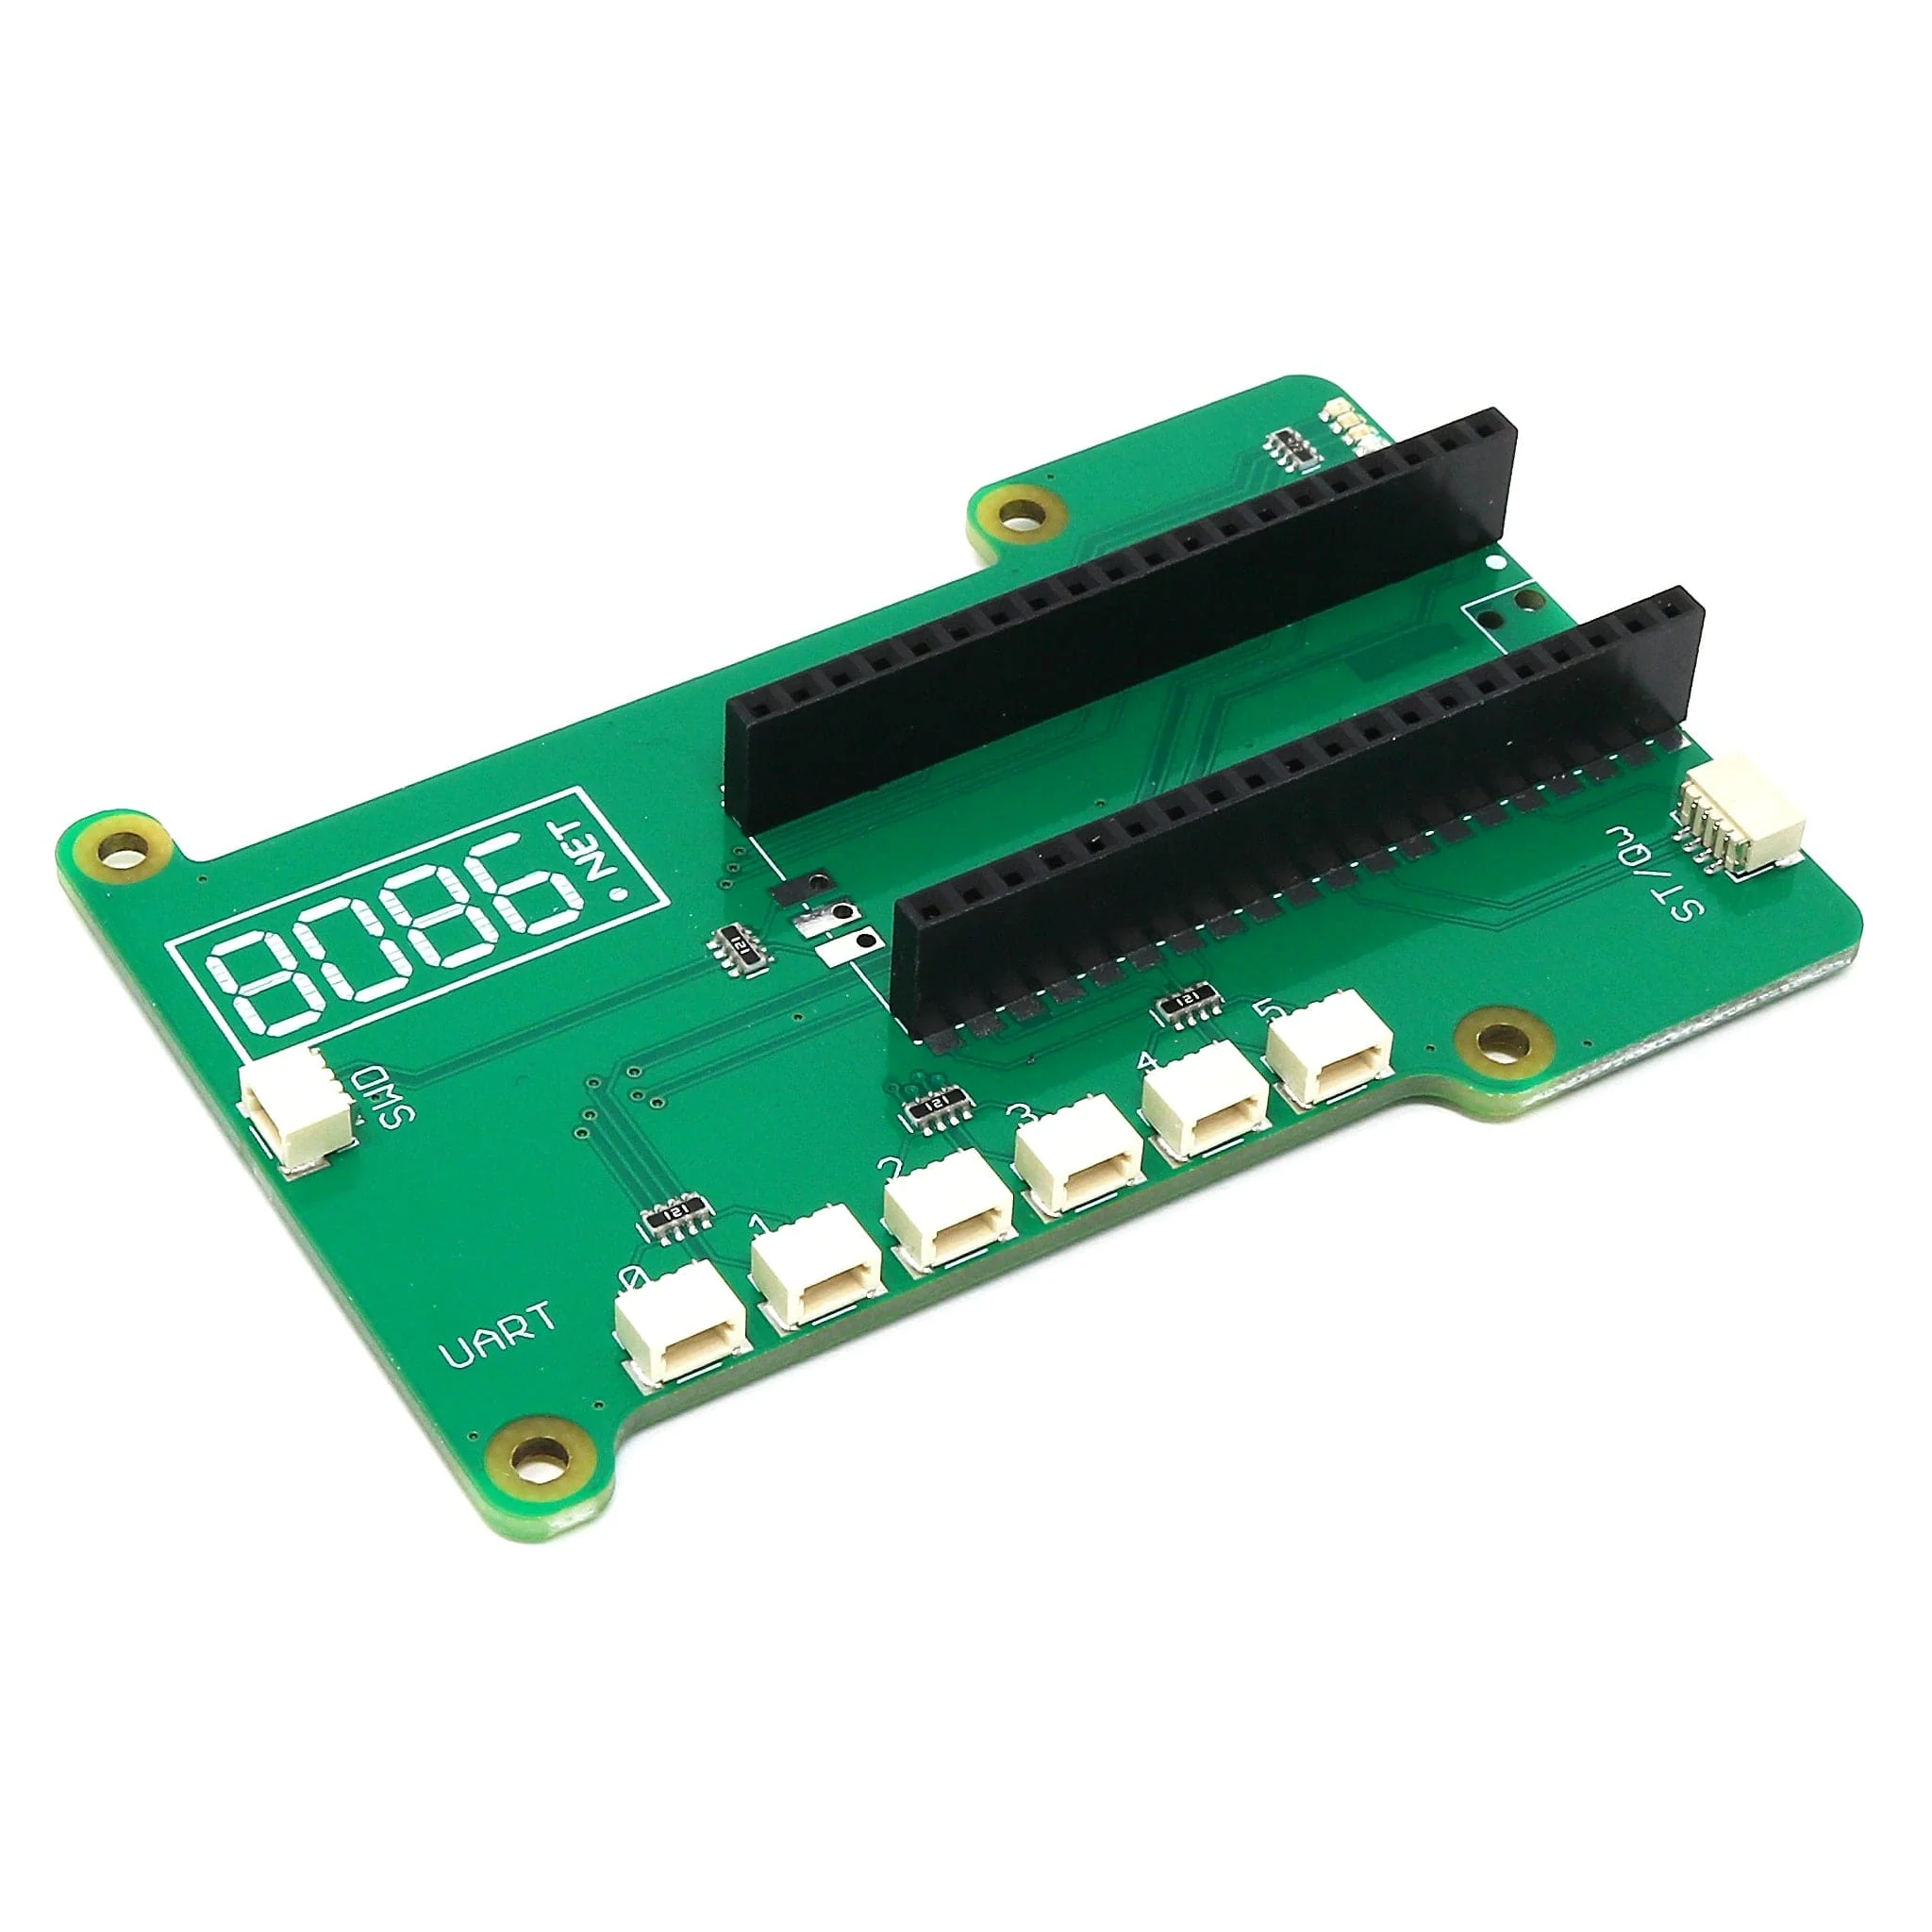
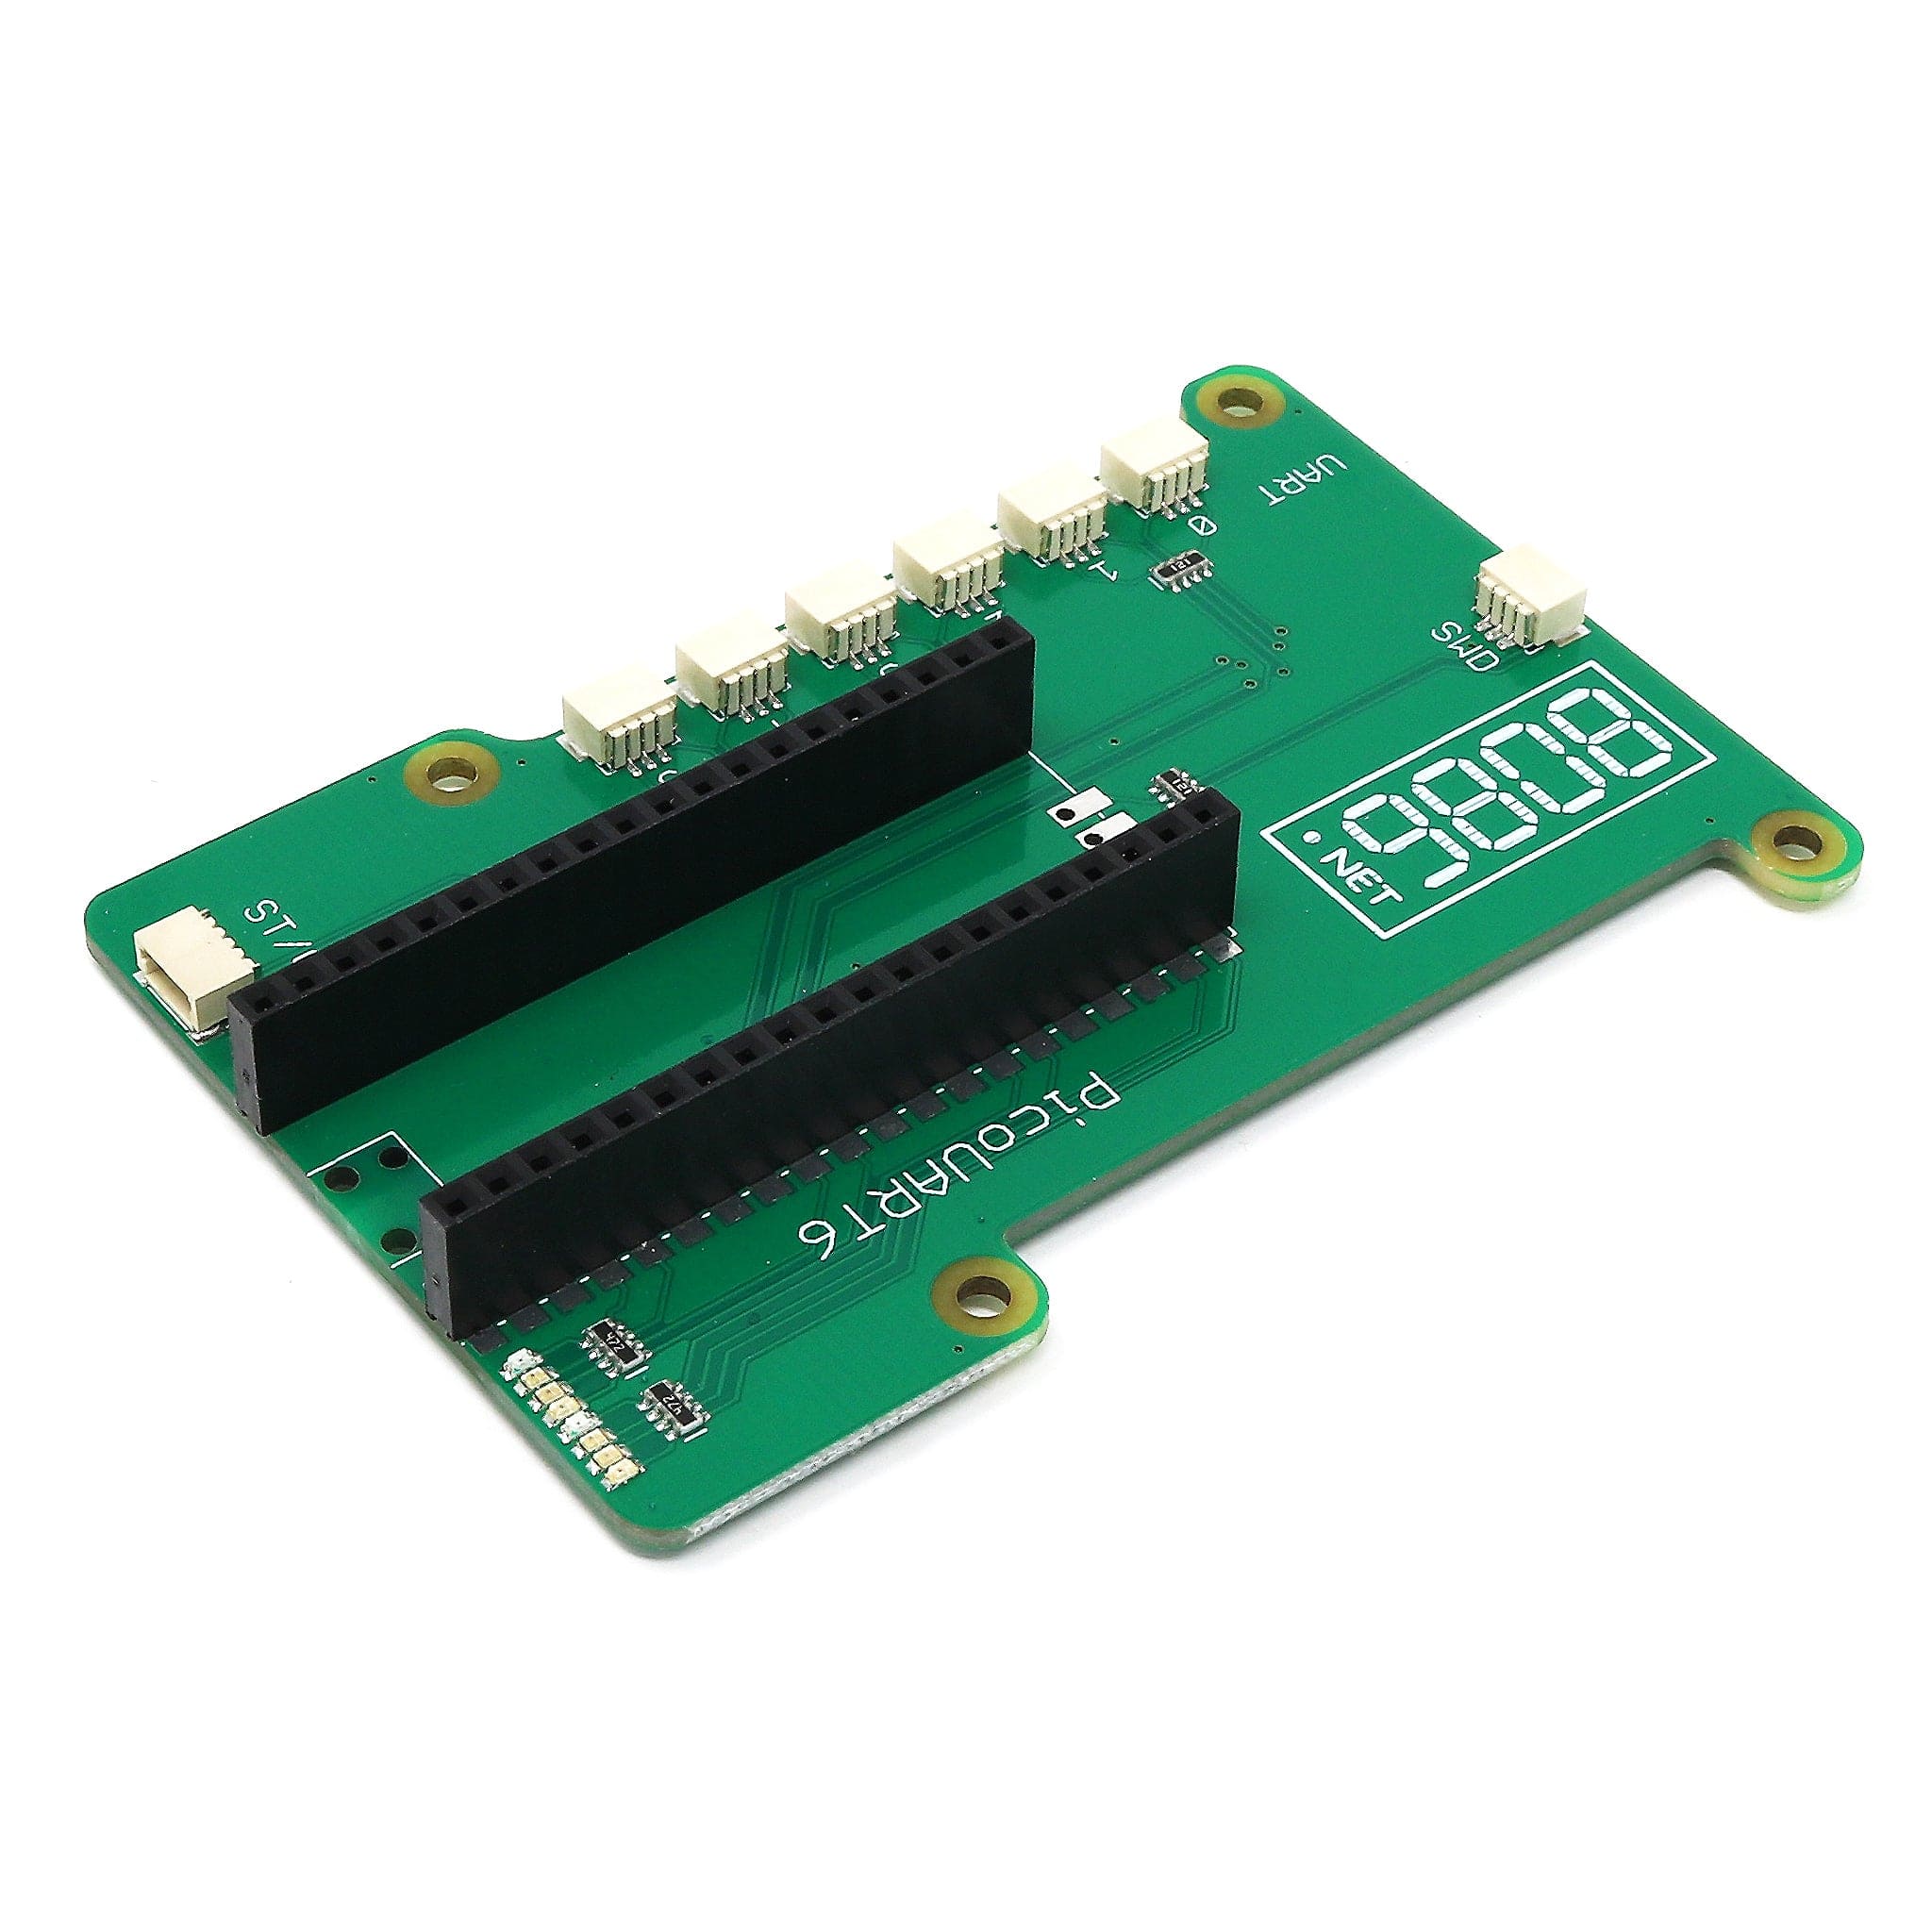
PicoUART6
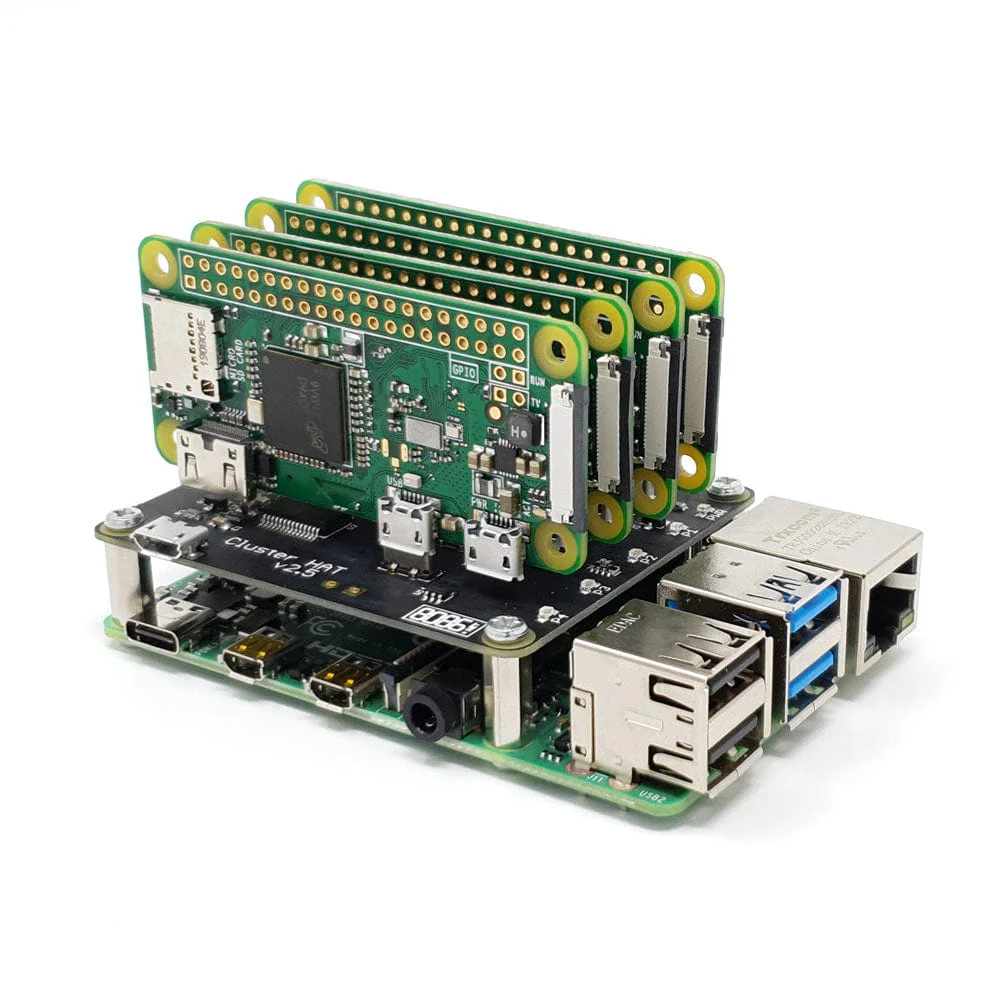
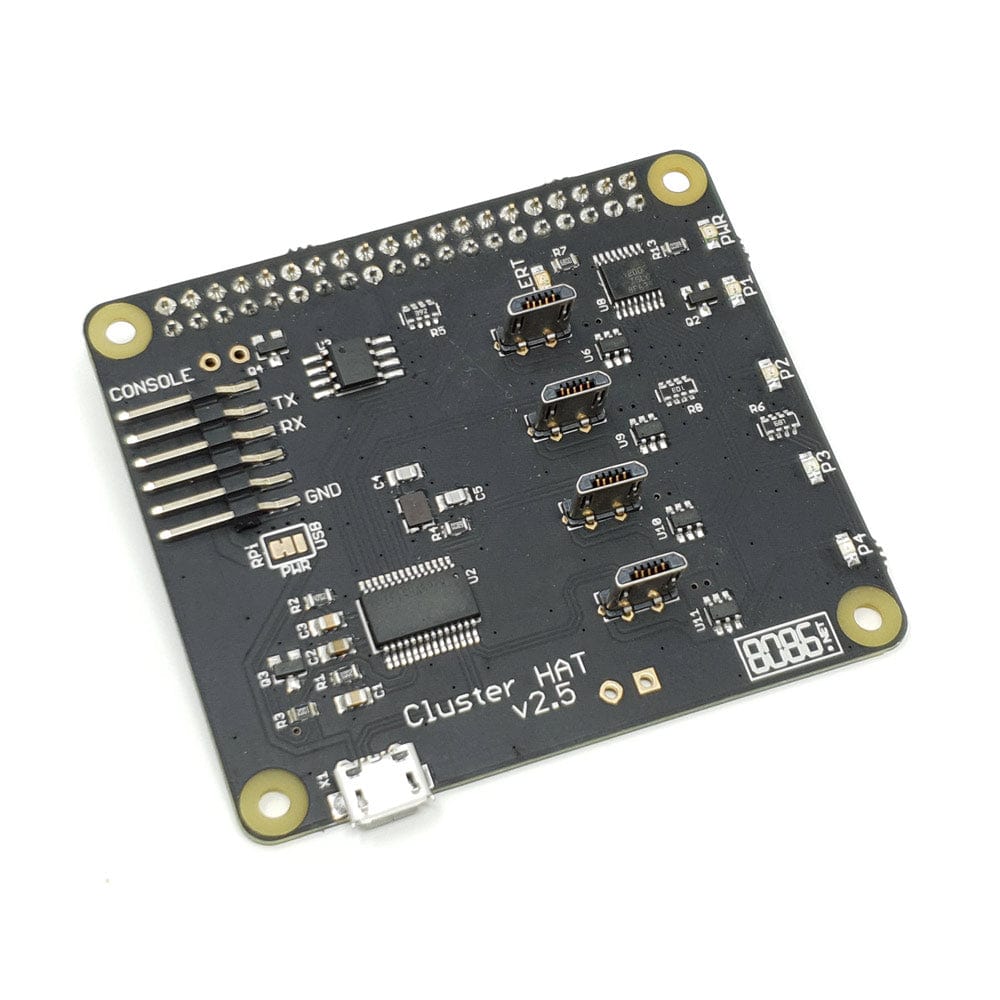
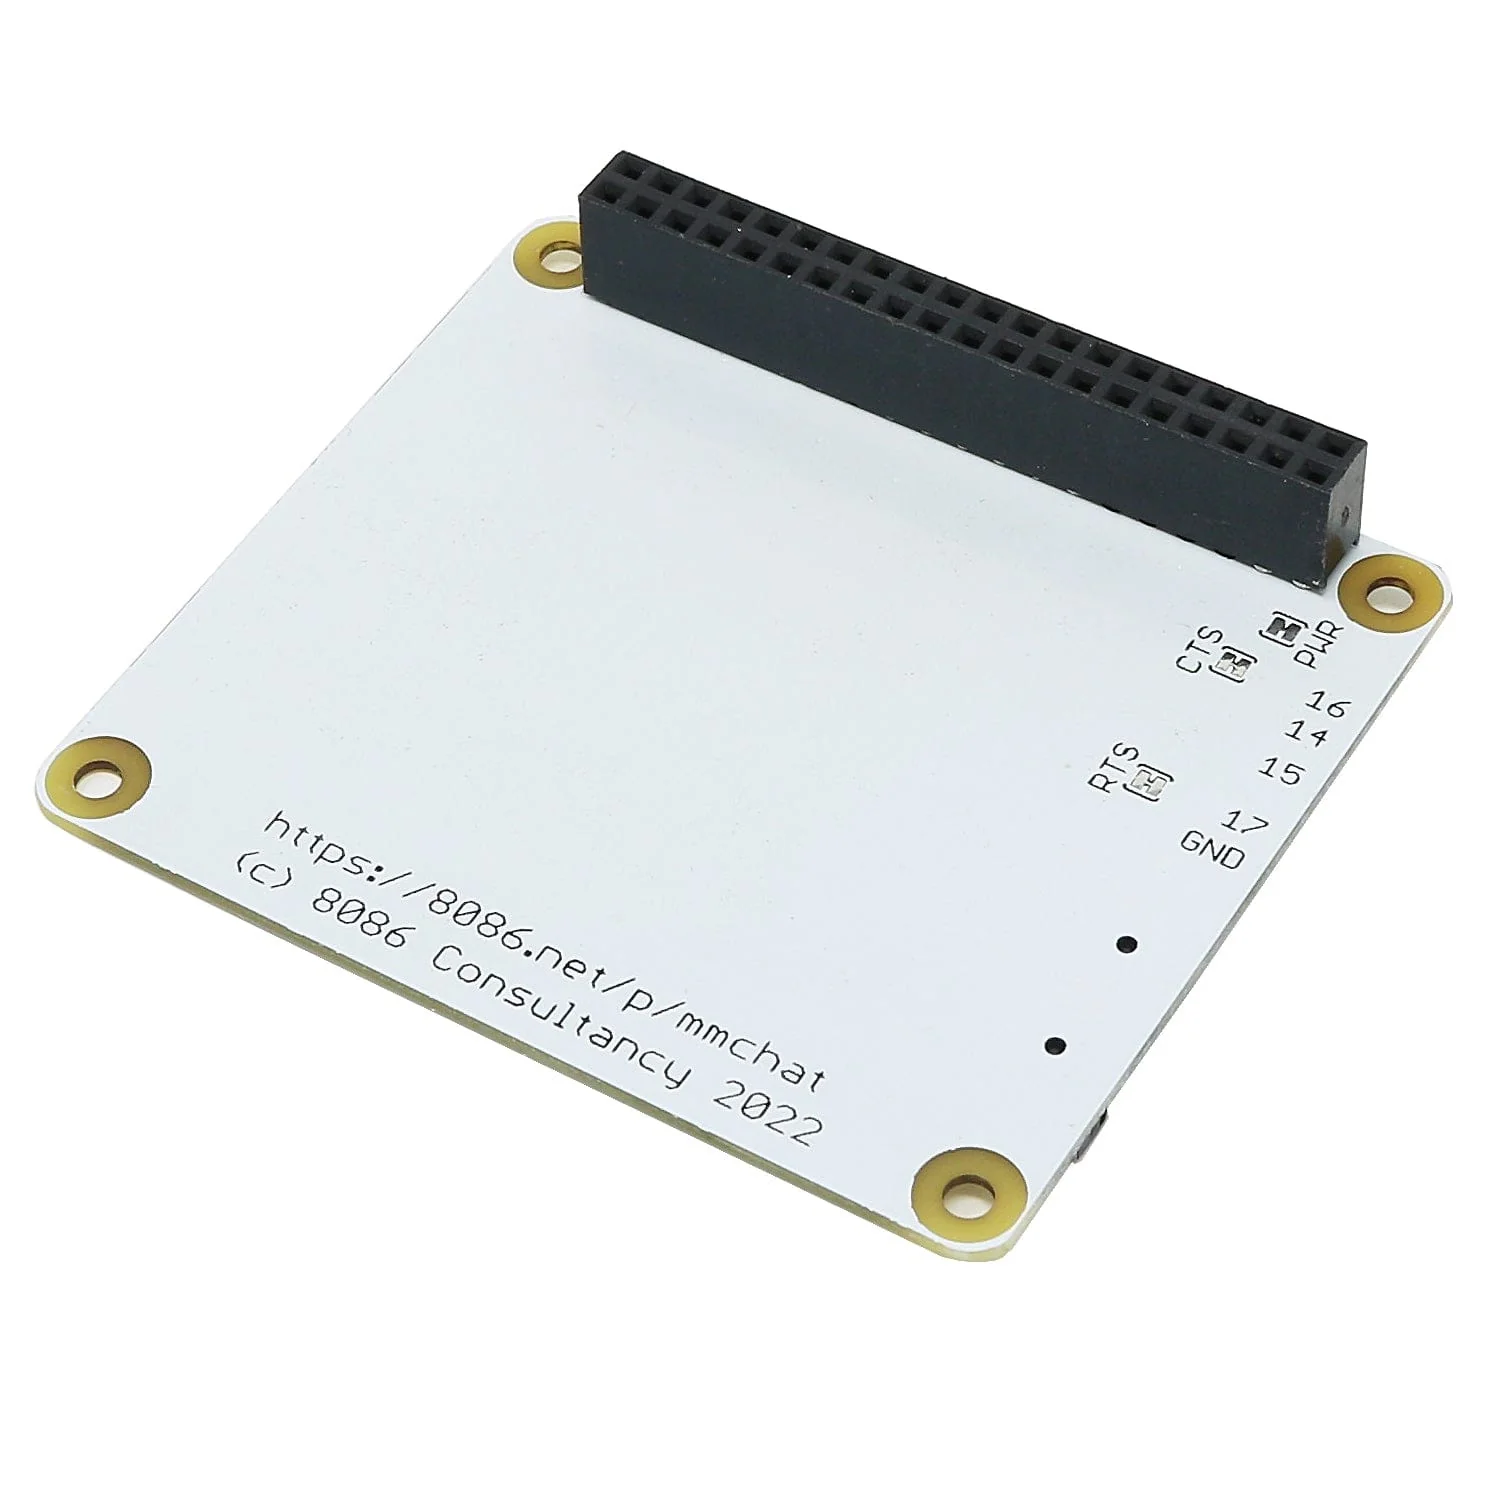
The PicoUART6 from 8086 provides the hardware side of a 6-port UART to USB (CDC) and I2C bridge to access multiple Raspberry Pi 5 console UART.
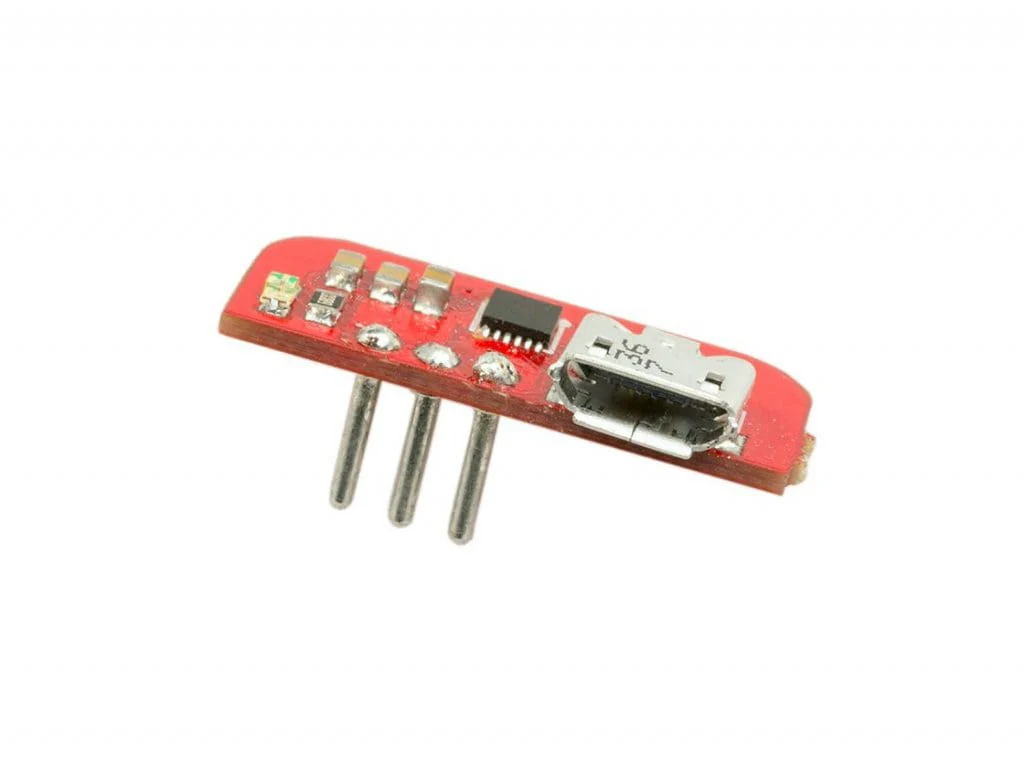
It can also be used with other 3.3V boards either following the UART Raspberry Pi 3-pin Debug Connector Specification or using a cable with a 3-pin JST SH compatible connector to 0.1" header for example. The mounting holes and cutouts in the PicoUART6 PCB allow it to be mounted onto a Raspberry Pi using M2.5 standoffs.
An SWD debug port (for debugging the onboard Pico) and STEMMA QT/Qwiic compatible connector for I2C (uses i2c-tiny-usb driver available on Linux) are also provided.
Pico and cables not included
Using the PicoUART6
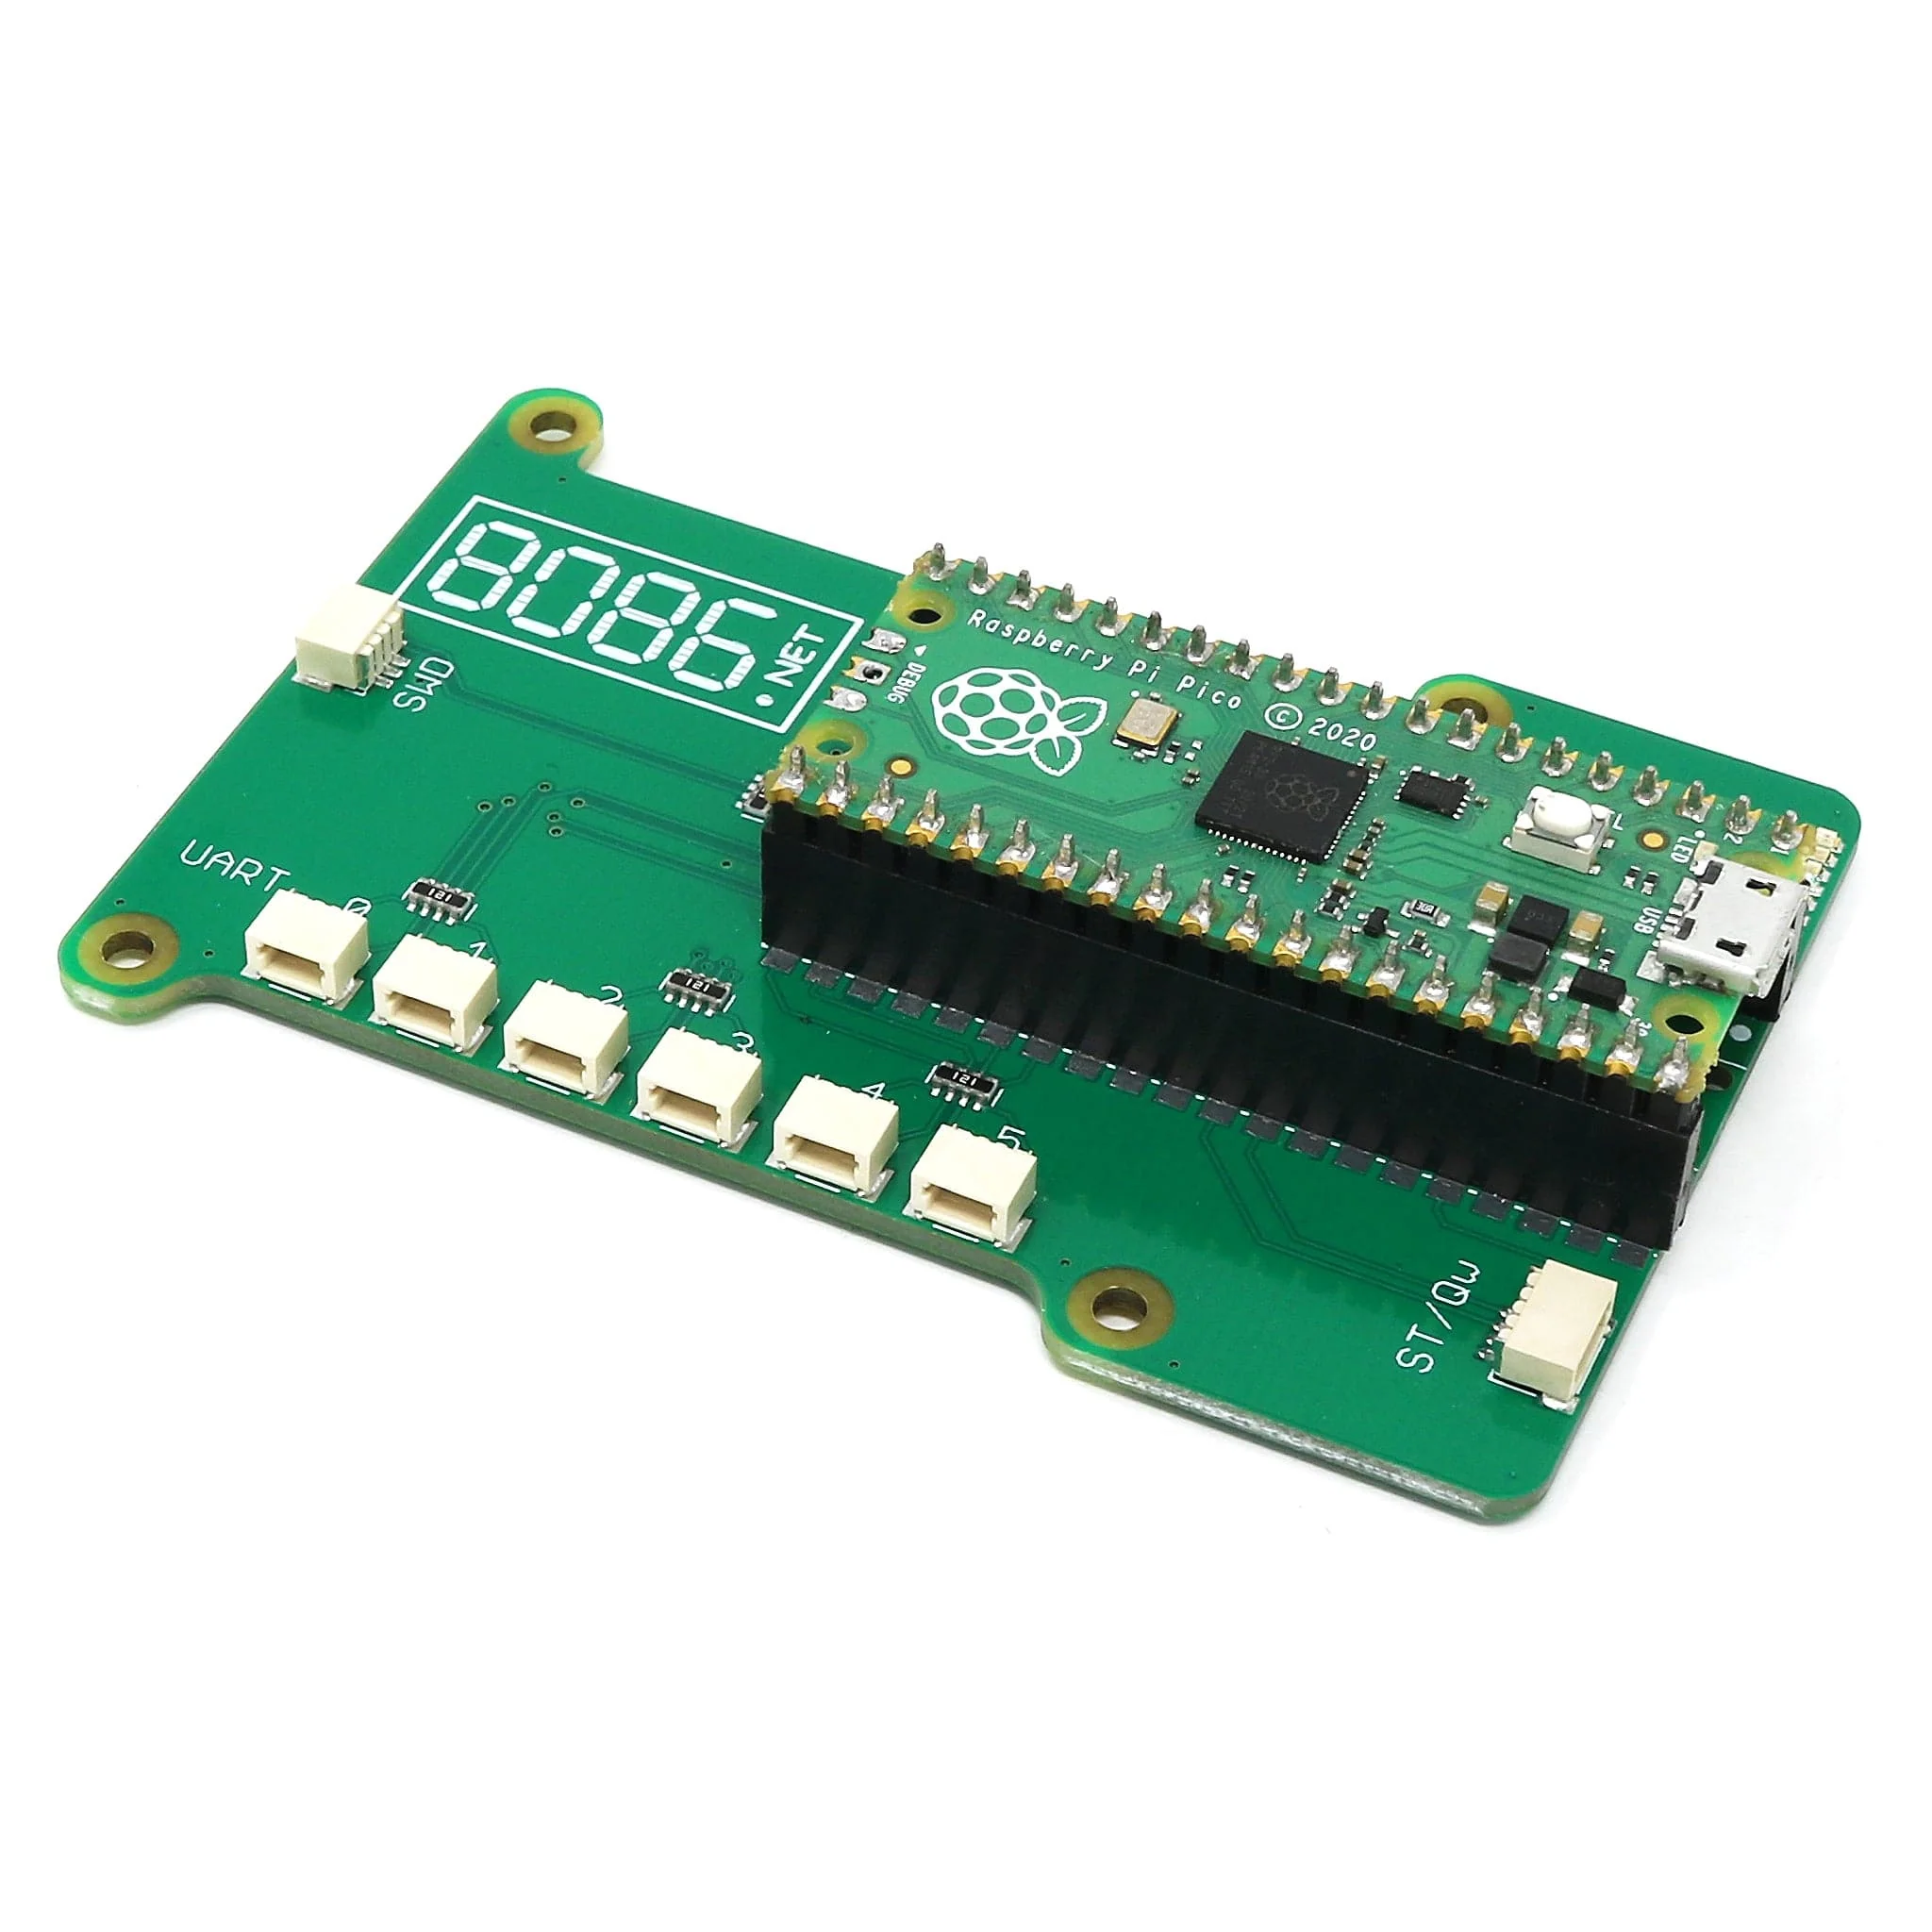
To use the PicoUART6 you'll first need to solder a Raspberry Pi Pico (not included) onto the PicoUART6 or solder two 20-way 0.1" header sockets to the PicoUART6 and then use a Raspberry Pi Pico H with pre-populated headers.
USB and UART Cables are NOT included
Firmware
To upload the pico-sexa-uart-bridge firmware to the Raspberry Pi Pico.
- Press and hold the BOOT button whilst plugging a USB cable from the Pico into your computer, then release the BOOT button.
- After a few seconds an RPI-RP2 drive should appear.
- Save the latest release .uf2 file onto the RPI-RP2 drive.
- The RPI-RP2 drive will then disappear and when it connects back to the computer you should see 6 USB Serial ports.
Resources
Package Contents
- 1x PicoUART6 board
Pico and cables not included
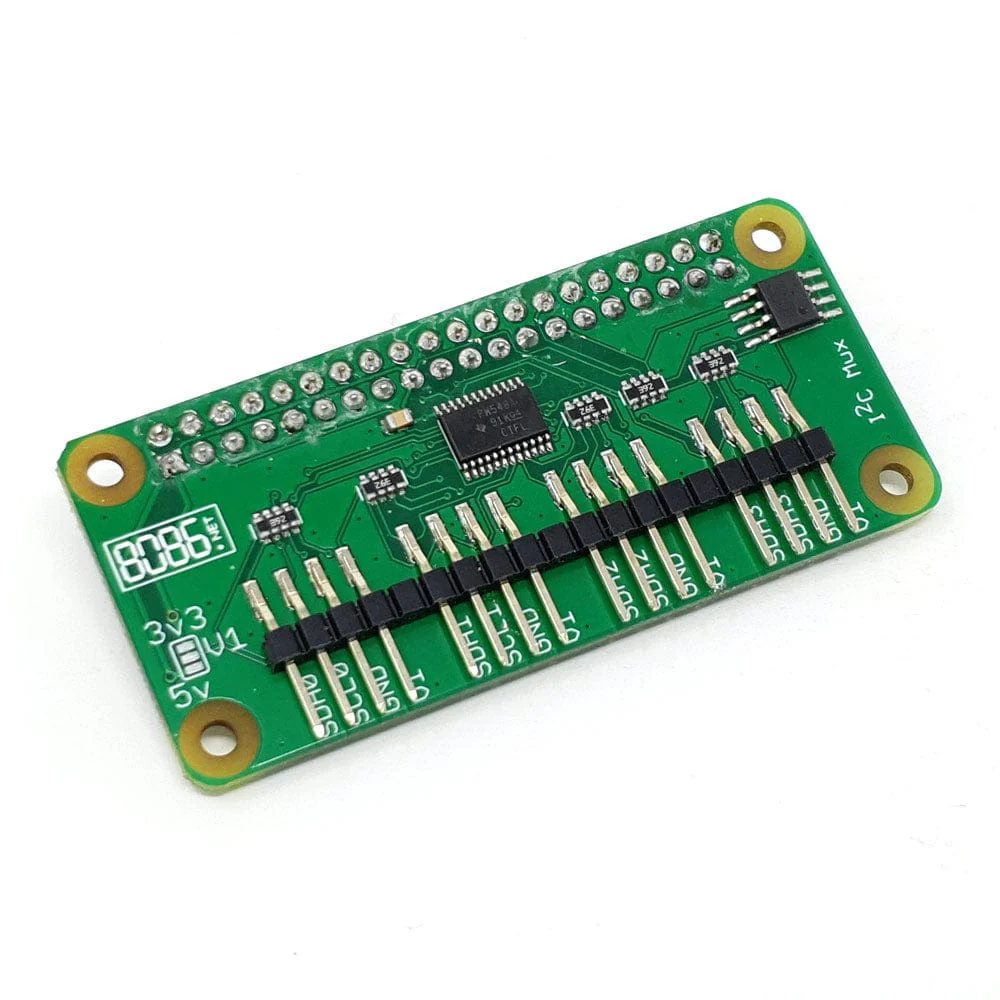
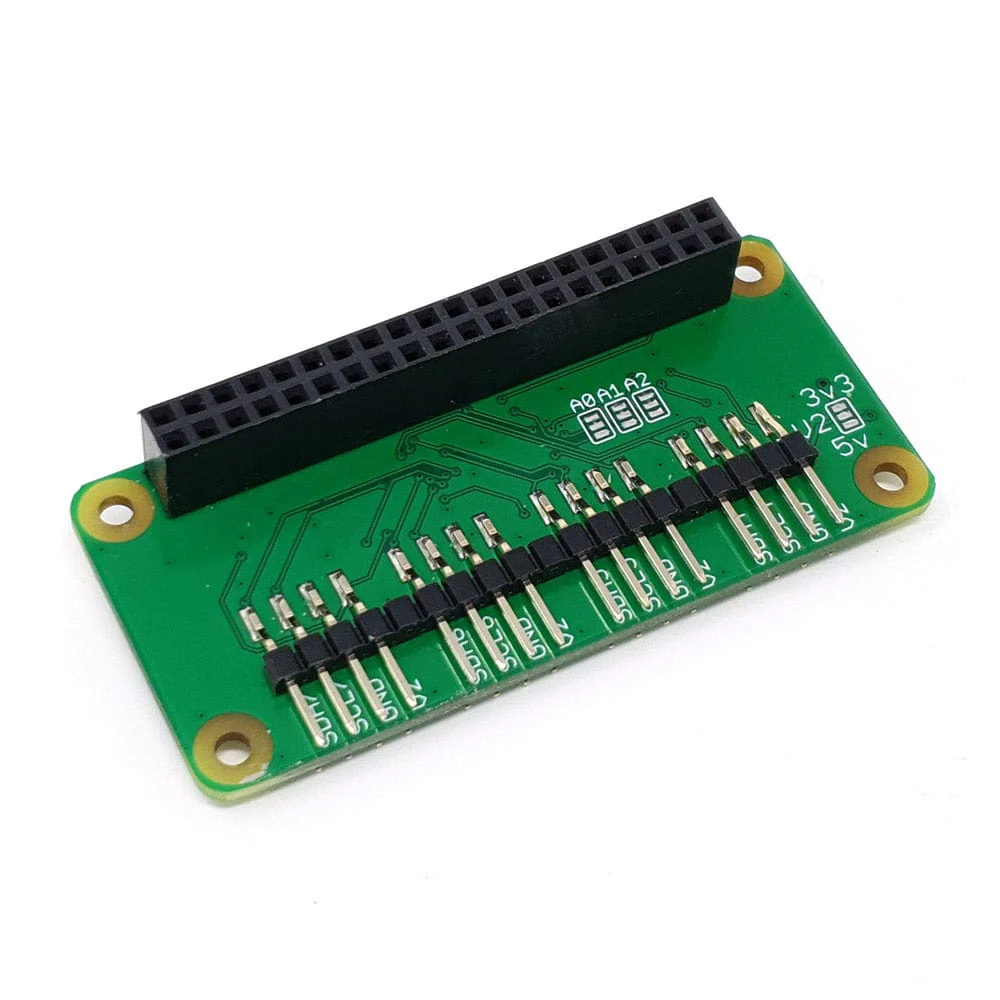
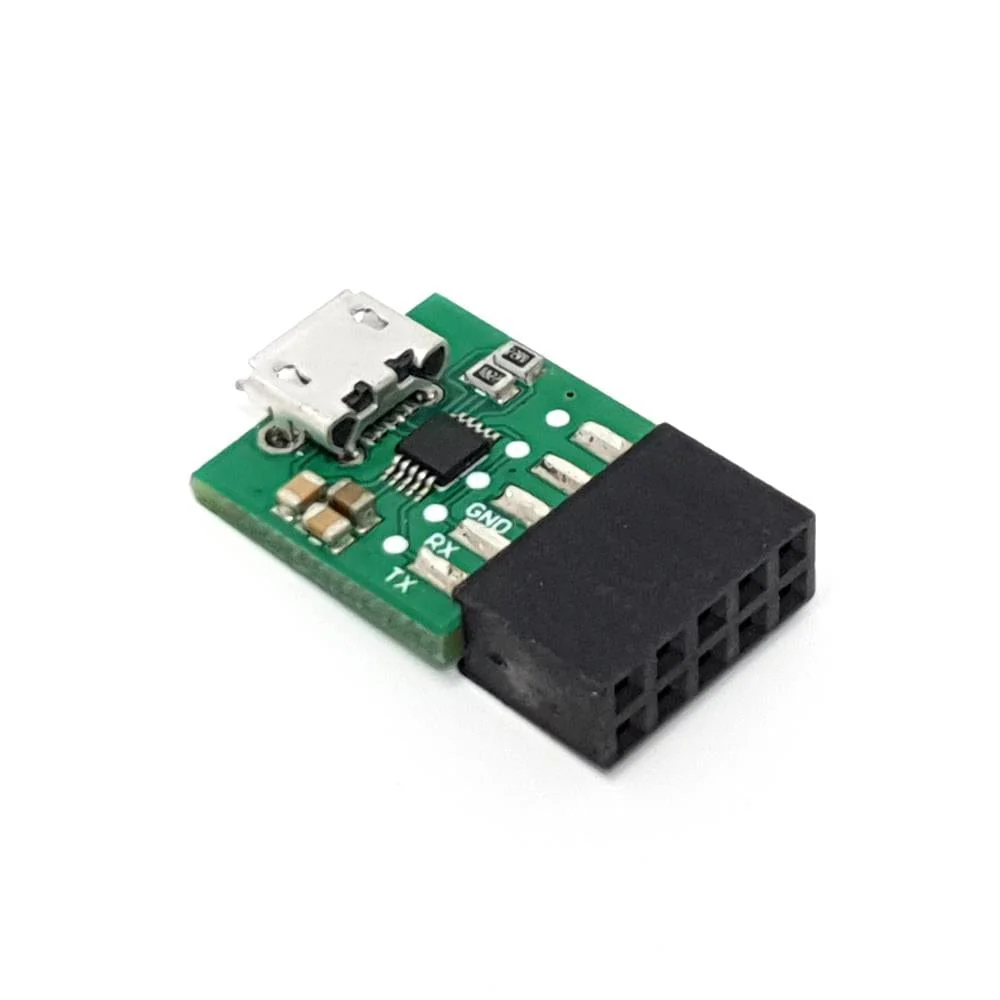
More Images

PicoUART6
The PicoUART6 from 8086 provides the hardware side of a 6-port UART to USB (CDC) and I2C bridge to access multiple Raspberry Pi 5 console UART.
It can also be used with other 3.3V boards either following the UART Raspberry Pi 3-pin Debug Connector Specification or using a cable with a 3-pin JST SH compatible connector to 0.1" header for example. The mounting holes and cutouts in the PicoUART6 PCB allow it to be mounted onto a Raspberry Pi using M2.5 standoffs.
An SWD debug port (for debugging the onboard Pico) and STEMMA QT/Qwiic compatible connector for I2C (uses i2c-tiny-usb driver available on Linux) are also provided.
Pico and cables not included
Using the PicoUART6
To use the PicoUART6 you'll first need to solder a Raspberry Pi Pico (not included) onto the PicoUART6 or solder two 20-way 0.1" header sockets to the PicoUART6 and then use a Raspberry Pi Pico H with pre-populated headers.
USB and UART Cables are NOT included
Firmware
To upload the pico-sexa-uart-bridge firmware to the Raspberry Pi Pico.
- Press and hold the BOOT button whilst plugging a USB cable from the Pico into your computer, then release the BOOT button.
- After a few seconds an RPI-RP2 drive should appear.
- Save the latest release .uf2 file onto the RPI-RP2 drive.
- The RPI-RP2 drive will then disappear and when it connects back to the computer you should see 6 USB Serial ports.
Resources
Package Contents
- 1x PicoUART6 board
Pico and cables not included
Product Information
Product Information
Shipping & Returns
Shipping & Returns
Description
The PicoUART6 from 8086 provides the hardware side of a 6-port UART to USB (CDC) and I2C bridge to access multiple Raspberry Pi 5 console UART.
It can also be used with other 3.3V boards either following the UART Raspberry Pi 3-pin Debug Connector Specification or using a cable with a 3-pin JST SH compatible connector to 0.1" header for example. The mounting holes and cutouts in the PicoUART6 PCB allow it to be mounted onto a Raspberry Pi using M2.5 standoffs.
An SWD debug port (for debugging the onboard Pico) and STEMMA QT/Qwiic compatible connector for I2C (uses i2c-tiny-usb driver available on Linux) are also provided.
Pico and cables not included
Using the PicoUART6
To use the PicoUART6 you'll first need to solder a Raspberry Pi Pico (not included) onto the PicoUART6 or solder two 20-way 0.1" header sockets to the PicoUART6 and then use a Raspberry Pi Pico H with pre-populated headers.
USB and UART Cables are NOT included
Firmware
To upload the pico-sexa-uart-bridge firmware to the Raspberry Pi Pico.
- Press and hold the BOOT button whilst plugging a USB cable from the Pico into your computer, then release the BOOT button.
- After a few seconds an RPI-RP2 drive should appear.
- Save the latest release .uf2 file onto the RPI-RP2 drive.
- The RPI-RP2 drive will then disappear and when it connects back to the computer you should see 6 USB Serial ports.
Resources
Package Contents
- 1x PicoUART6 board
Pico and cables not included